The Windows Registry is a crucial system component which should not be altered. However, the registry grows bigger and older with time and can contain a lot of broken or corrupt items. It is often the case that some registry entries are not removed even after you uninstall a program on your system.
Modern versions of Windows do a good job of maintaining the registry on their own, but there may still be some limited situations where broken registry items can cause issues. Broken registry items can lead to errors and may hinder the normal functioning of your system. However, this can be fixed.
Regarding system security, broken registry items themselves do not pose a direct security risk but they can indirectly impact system security by causing software vulnerabilities or instability, which malicious actors could exploit.
In this article, we will explain the importance of the Windows Registry and explain several methods to fix the issue and avoid any issues in the future.
What Is the Windows Registry?
The Windows Registry stores the necessary configuration settings which a Windows system component or a program needs to run properly.
It is possible to edit registry entries and even create new ones to modify the behavior of a program. You can, for example, activate hidden Windows themes by altering the registry values. However, although it may sound like a good idea to modify the Windows Registry and unlock new features, you must never change, add, or delete any entries in it unless instructed to do so by a trusted source. If you are not careful with how you edit the Registry, you can do serious harm to your PC.
How to Fix Broken Registry Items in Windows
The following are methods which can be used to fix the broken registry items on your Windows system:
1. Use the Disk Cleanup Tool
Rather than installing a third-party cleanup tool, you could try the Windows Disk Cleanup utility which is an old but reliable utility included with every copy of Windows OS. You can use it to clear system clutter which also clears registry associations of some apps. Use the following steps to run the utility:
- Launch the Run command box (Win + R) and type cleanmgr in the text box and press Enter
- The Disk Cleanup dialog box will be displayed. Select the C drive and click OK
- Navigate down and click the Clean up system files button
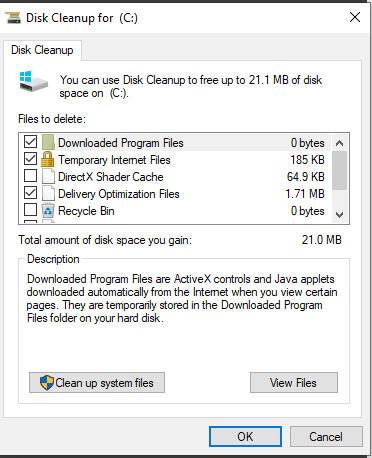
- The Disk Cleanup tool will launch again. Keep the Drive selection as OS (C:) and click OK
- Wait for the utility to scan the system and then click OK
- Disk Cleanup will reconfirm your decision. Click on Delete files
2. Try the Automatic Repair Tool
Microsoft offers an automatic repair tool that can fix system boot issues and even core system registry files. Follow these steps to use the tool:
- Sign out of Windows. Click on the power icon in the bottom-right corner.
- Then, press and hold Shift and click on the Restart option.
- Windows will restart and boot to the Windows Recovery options page. Navigate to Troubleshoot, Advanced options
- On the Advanced options page, select the Startup Repair option
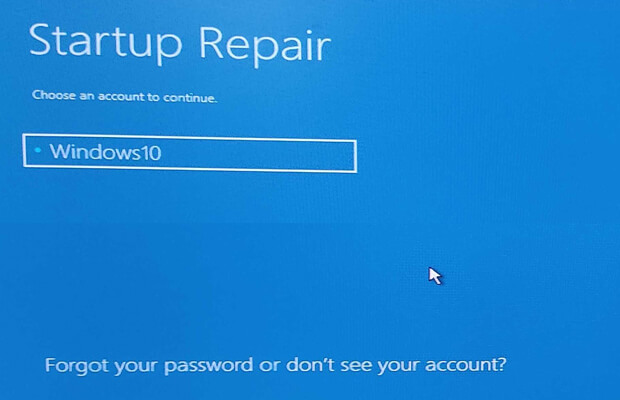
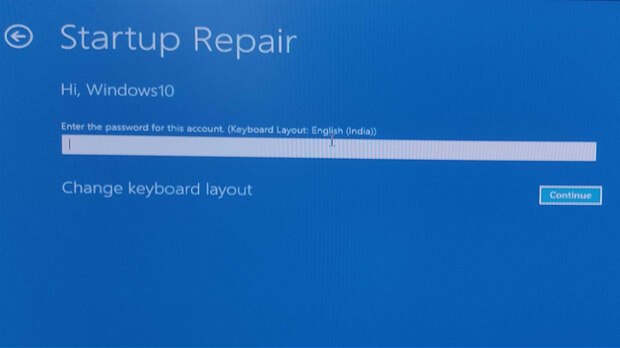
- The utility will begin diagnosing your system and attempt to repair it. Once complete, restart your system
3. Run an SFC Scan
SFC is an inbuilt windows utility that can scan your system for corrupt or missing system files. It will then replace all the corrupt or missing files with a fresh copy. Here’s how you can scan your system with SFC:
- Press Win + R to launch the Run command box. In the text box, type cmd and then press Ctrl + Shift + Enter
- A command prompt window will launch with administrator privileges
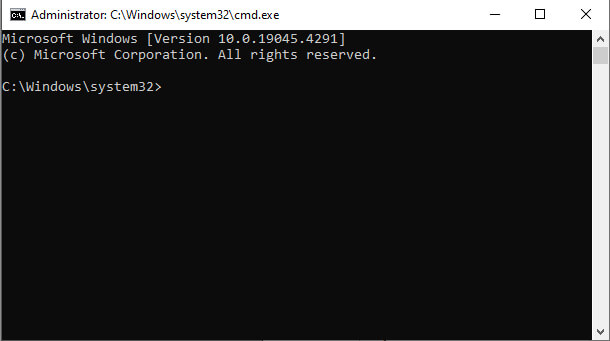
- Wait for the utility to scan and replace files on your system
- Close the command prompt window and restart your computer
4. Try a DISM Scan
DISM is also a command line tool, but it can scan and repair Windows System Image files. The utility can work in both online and offline modes. Follow the steps below to run a DISM scan:
- Press Win + S to launch Windows search. Search for CMD, and select Run as administrator from the right pane
- Once CMD launches with elevated permissions, type DISM /Online /Cleanup-Image /RestoreHealth command and press the Enter key

- Wait for the tools to scan and repair the problems with the system image
- Finally, close the command prompt and restart your PC
5. Import an Old Registry Backup
If you regularly create registry backups on Windows, you could use a backup to solve the broken registry items issue. When you encounter registry issues, import an old registry backup which was taken when the system was working correctly.
Here’s how to import an old backup in Windows Registry:
- Press Win + R to open the Run dialog box. Then, enter regedit in the text box and press Enter to launch the registry editor
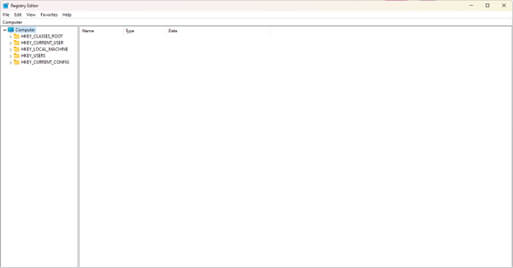
- Go to the top bar in the Registry Editor window and click on File, Import
- Navigate to the registry backup file location on your system. Select the registry file and click on the Open button to begin importing the file
- Wait for a few minutes for the import to complete. Restart your system
Check for Malware on Your System
Malware can create and modify the registry items and can also break or corrupt existing registry entries. To check for malware, perform a thorough scan of your Windows computer using Windows Defender by following the steps below:
- Open the Start menu and search Windows Security
- Click on the relevant search result to launch the app
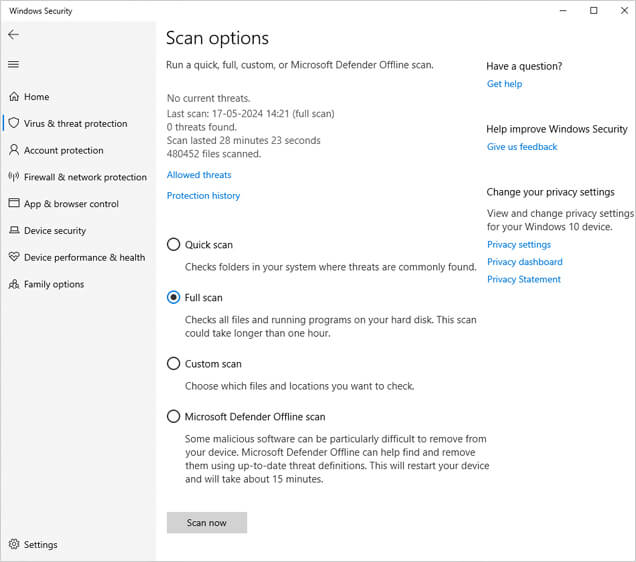
- Navigate to Virus and threat protection, Scan options
- Select the Full Scan radio button and then click the Scan Now button
- Windows Security will execute a deep scan of all the files on your disk. If any traces of malware are found, manually remove them from your system
6. Do a System Restore
The System Restore tool saves all Windows system files and drivers including the registry contents. If none of the above methods work, you can revert to a last known good system configuration using a restore point.
Follow the steps below to perform a system restore:
- Press Win + R to launch the Run command box. Type rstrui into the text box and press Enter
- The System Restore utility will launch on your system. Click Next
- You will see a list of all the available restore points created by program installations or Windows updates
- Select the most recent restore point from the list and then click on Scan for affected programs. Note down these programs or take a screenshot because you will have to reinstall them
- Click Close. In the System Restore window click Next
- Confirm your restore point selection and click Finish
- Your system will restart automatically to apply the restore point. It will then automatically boot to the desktop
7. Reset Your PC
If System Restore doesn’t work, you are left with one last option which is to perform a factory reset on Windows. It will remove all the drivers and programs and revert the system to a clean state. However, you can save your files and documents if you pick the Keep my files option while resetting your Windows computer.
Keep Your Registry Safe from Corruption
If your Windows Registry needs a refresh, start by running disk cleanup and SFC and DISM scans. Then scan your system for malware infestation and import an old registry backup. Lastly, use the system restore utility or reset your Windows PC.
How Lepide can Help
The Lepide Data Security Platform can help you detect and react to security threats in a timely, automated fashion, including ransomware, brute force attacks, and more.
If you’d like to see how the Lepide Data Security Platform can help to keep your accounts and data secure, schedule a demo with one of our engineers today.

